


Hannah’s Hair How-To
8 years ago / in Bliss
Lately, I’ve had a lot of questions about how I do my hair as well as what products & tools I use. So, I thought I would do a little step-by-step tutorial on how I get these curls on the reg.
Disclaimer: Blake Lively is the ultimate hair goals for me…&, well, everything – I want to be her. So, whenever I do my hair, I’m picturing Blake’s in my head & aiming for that.
You will need:
- 1 inch curling iron (I prefer the clip-less kind!)
- Hair clip
- Sea Spray
- Dry shampoo
1. Start with freshly blown-dry hair.
After washing my hair, I squeeze it dry with a microfiber towel. I find that these towels are a lot easier on my hair & prevent frizz. I then comb it out & let my hair air-dry as long as possible while I do my makeup & get dressed. I never try to dry my hair from soaking wet, because it really is harsh on your hair & causes a lot of damage & breakage. So, once it’s about 90% dry, I pull out a round brush & start drying my hair with a blow dryer in sections. You’re hair doesn’t have to be perfectly straight, but I find that the smoother it is, the easier it is to work with!


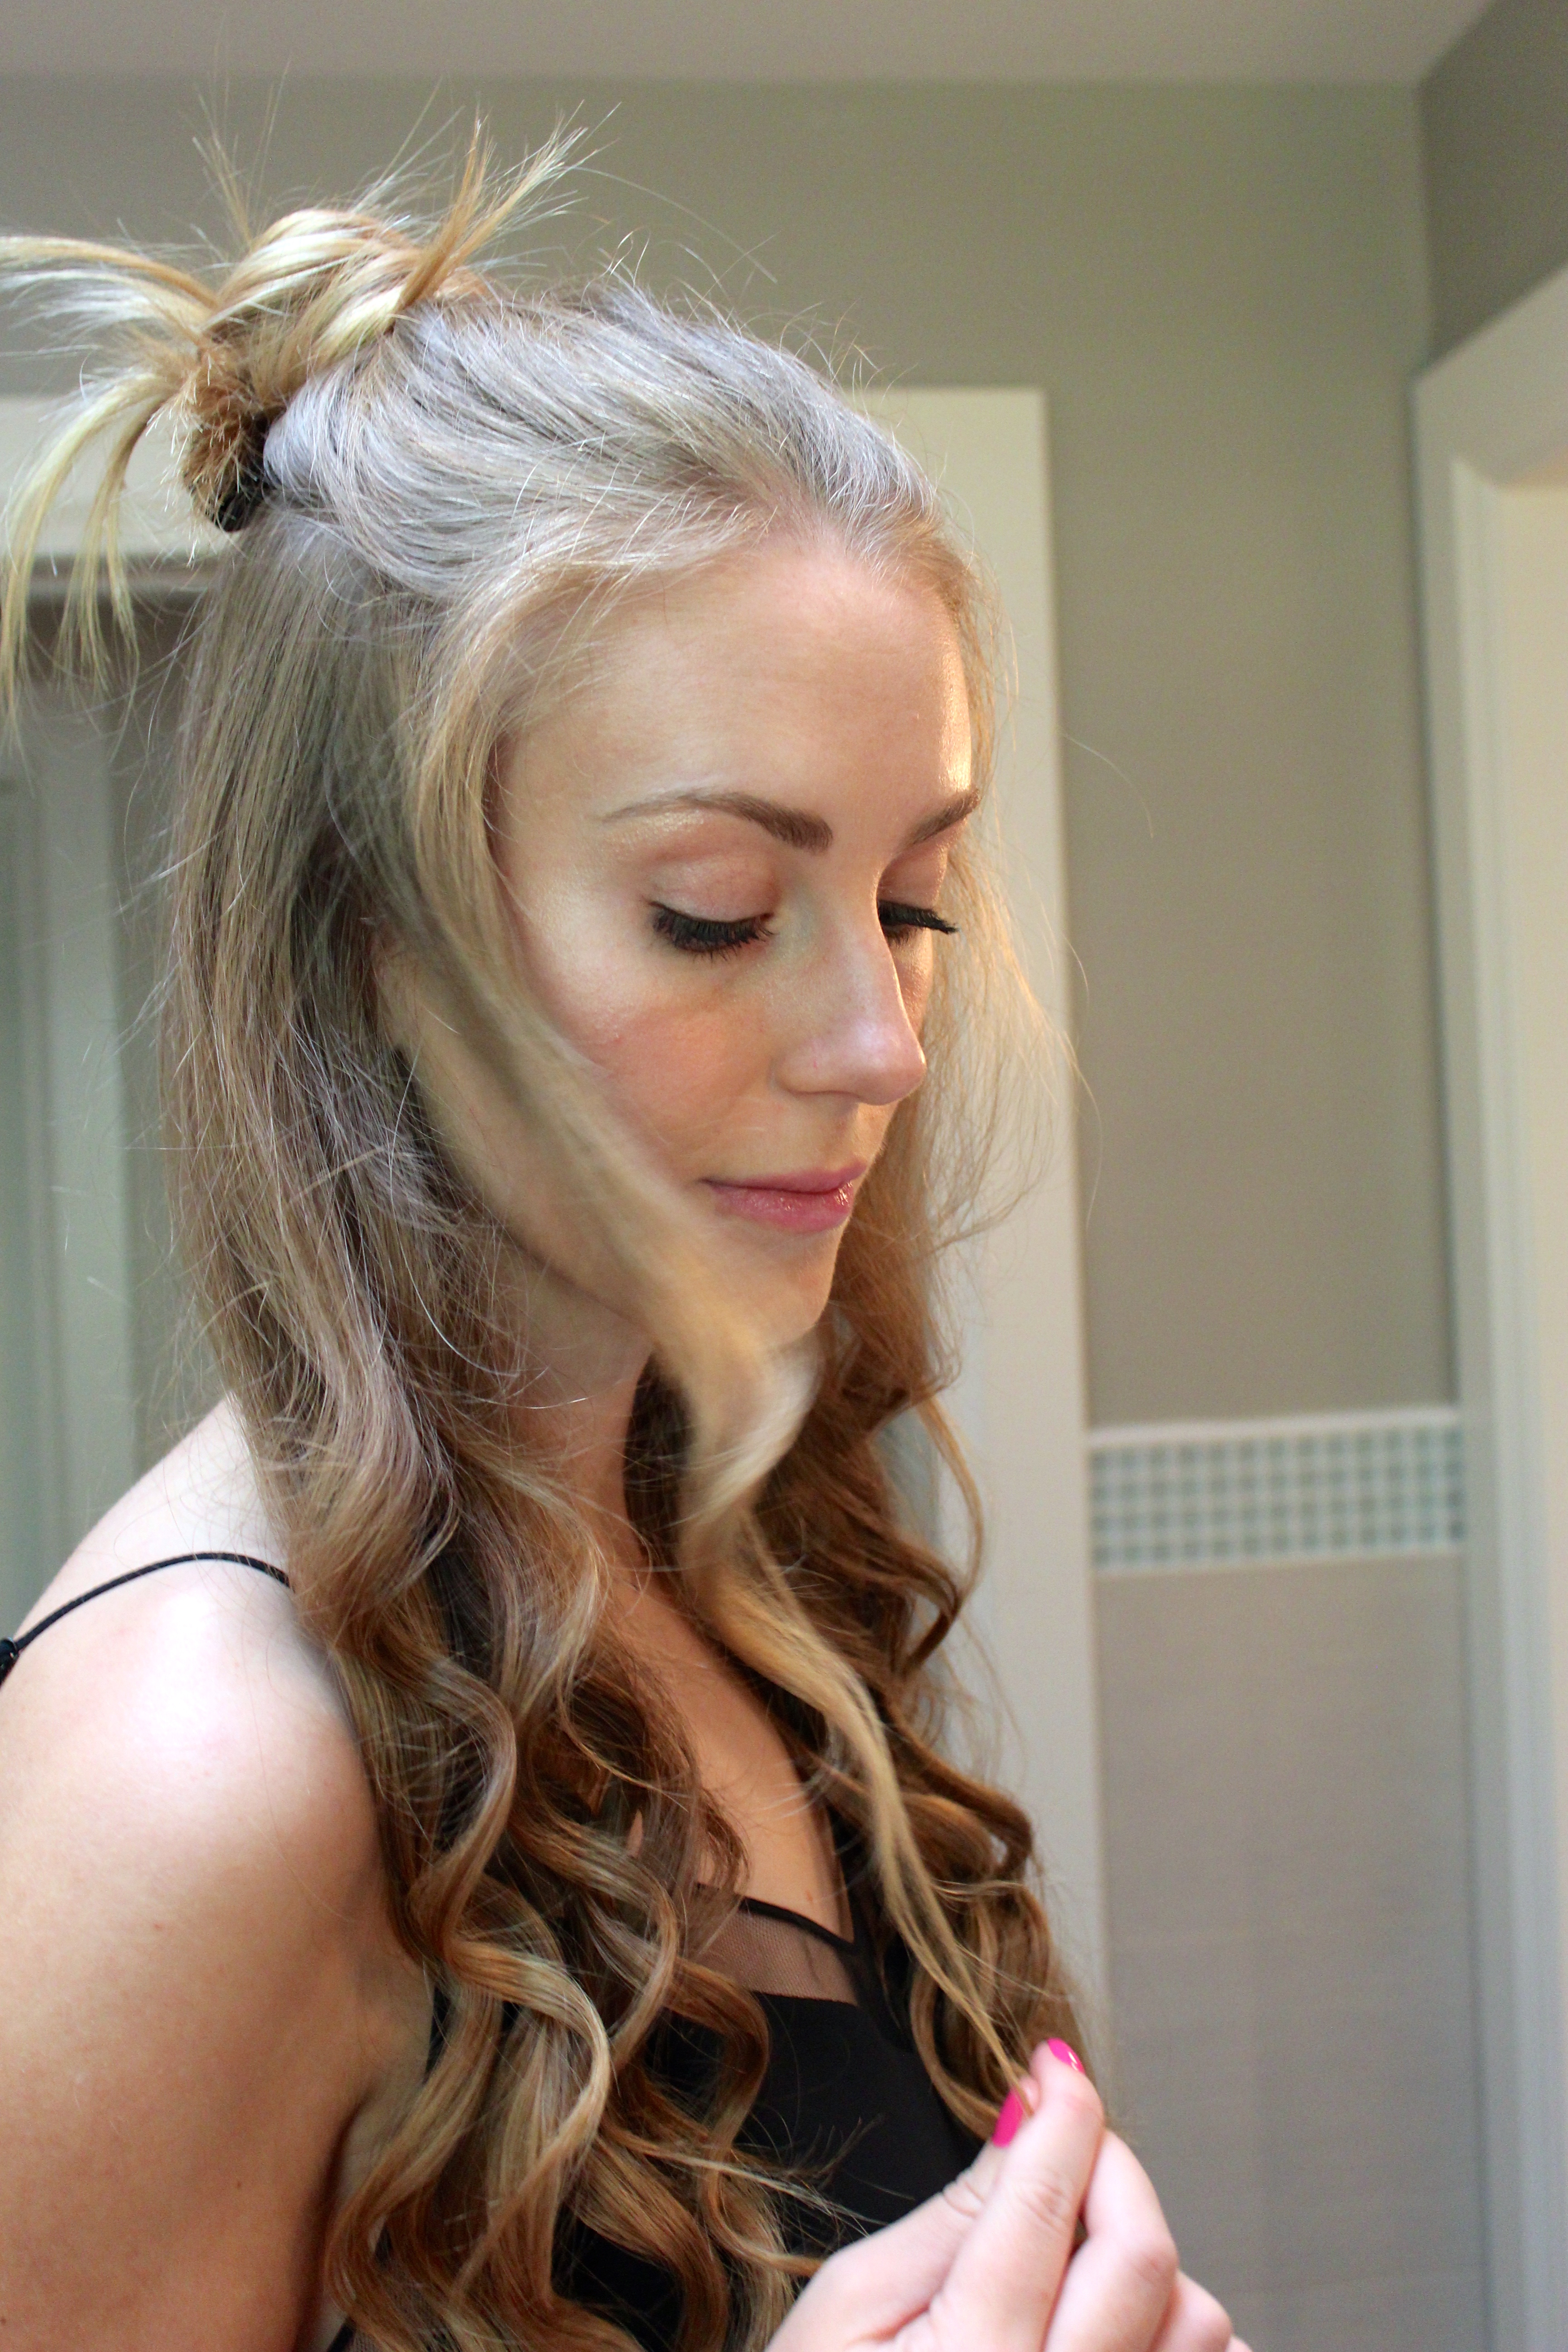
2. Part your hair into sections.
I have so much hair that this is an absolute must. I curl my hair from the bottom layer to the top, making sure that I don’t miss any pieces. I first take the top 3/4 of my hair & pin it up on top of my head so I can start with the under-layer of my hair. I then take the section & divide it into two at the back, drawing each half over my shoulders to the front, making sure that no strands are left behind in the back.


3. Start curling.
Take 1 inch sections & start wrapping them around the barrel halfway up the section of hair. Depending on what kind of curl you want, you might wrap the hair more narrowly or wider around the barrel. I don’t worry too much about how the hair is wrapped…I like a more beachy look, so variation is not a bad thing. I hold the strands in place for about 3-5 seconds, but my hair is really thick, so those with thinner hair may need to hold it for less time, or more, depending on how well your hair curls & how long your curls usually hold for.
 ^^ I use a Sultra clip-less curler!

 ^^ this wand actually comes with a protective glove, but I find that I can’t grip the hair properly with it on, so I live life on the edge.


 ^^ if you feel like a curl is too ringlet-y, just pull it by the end downward after releasing it.
4. Let down the next section & curl.
I usually do my hair in 4 sections. I find that less hair at a time is more manageable & ensures that I don’t miss any pieces!

 ^^ with so much hair, it can take a while. So, I either put on some tunes or catch up on Netflix…#multitasking.

 ^^ final layer!
 ^^ I always make sure that the pieces at the front are curled away from my face.
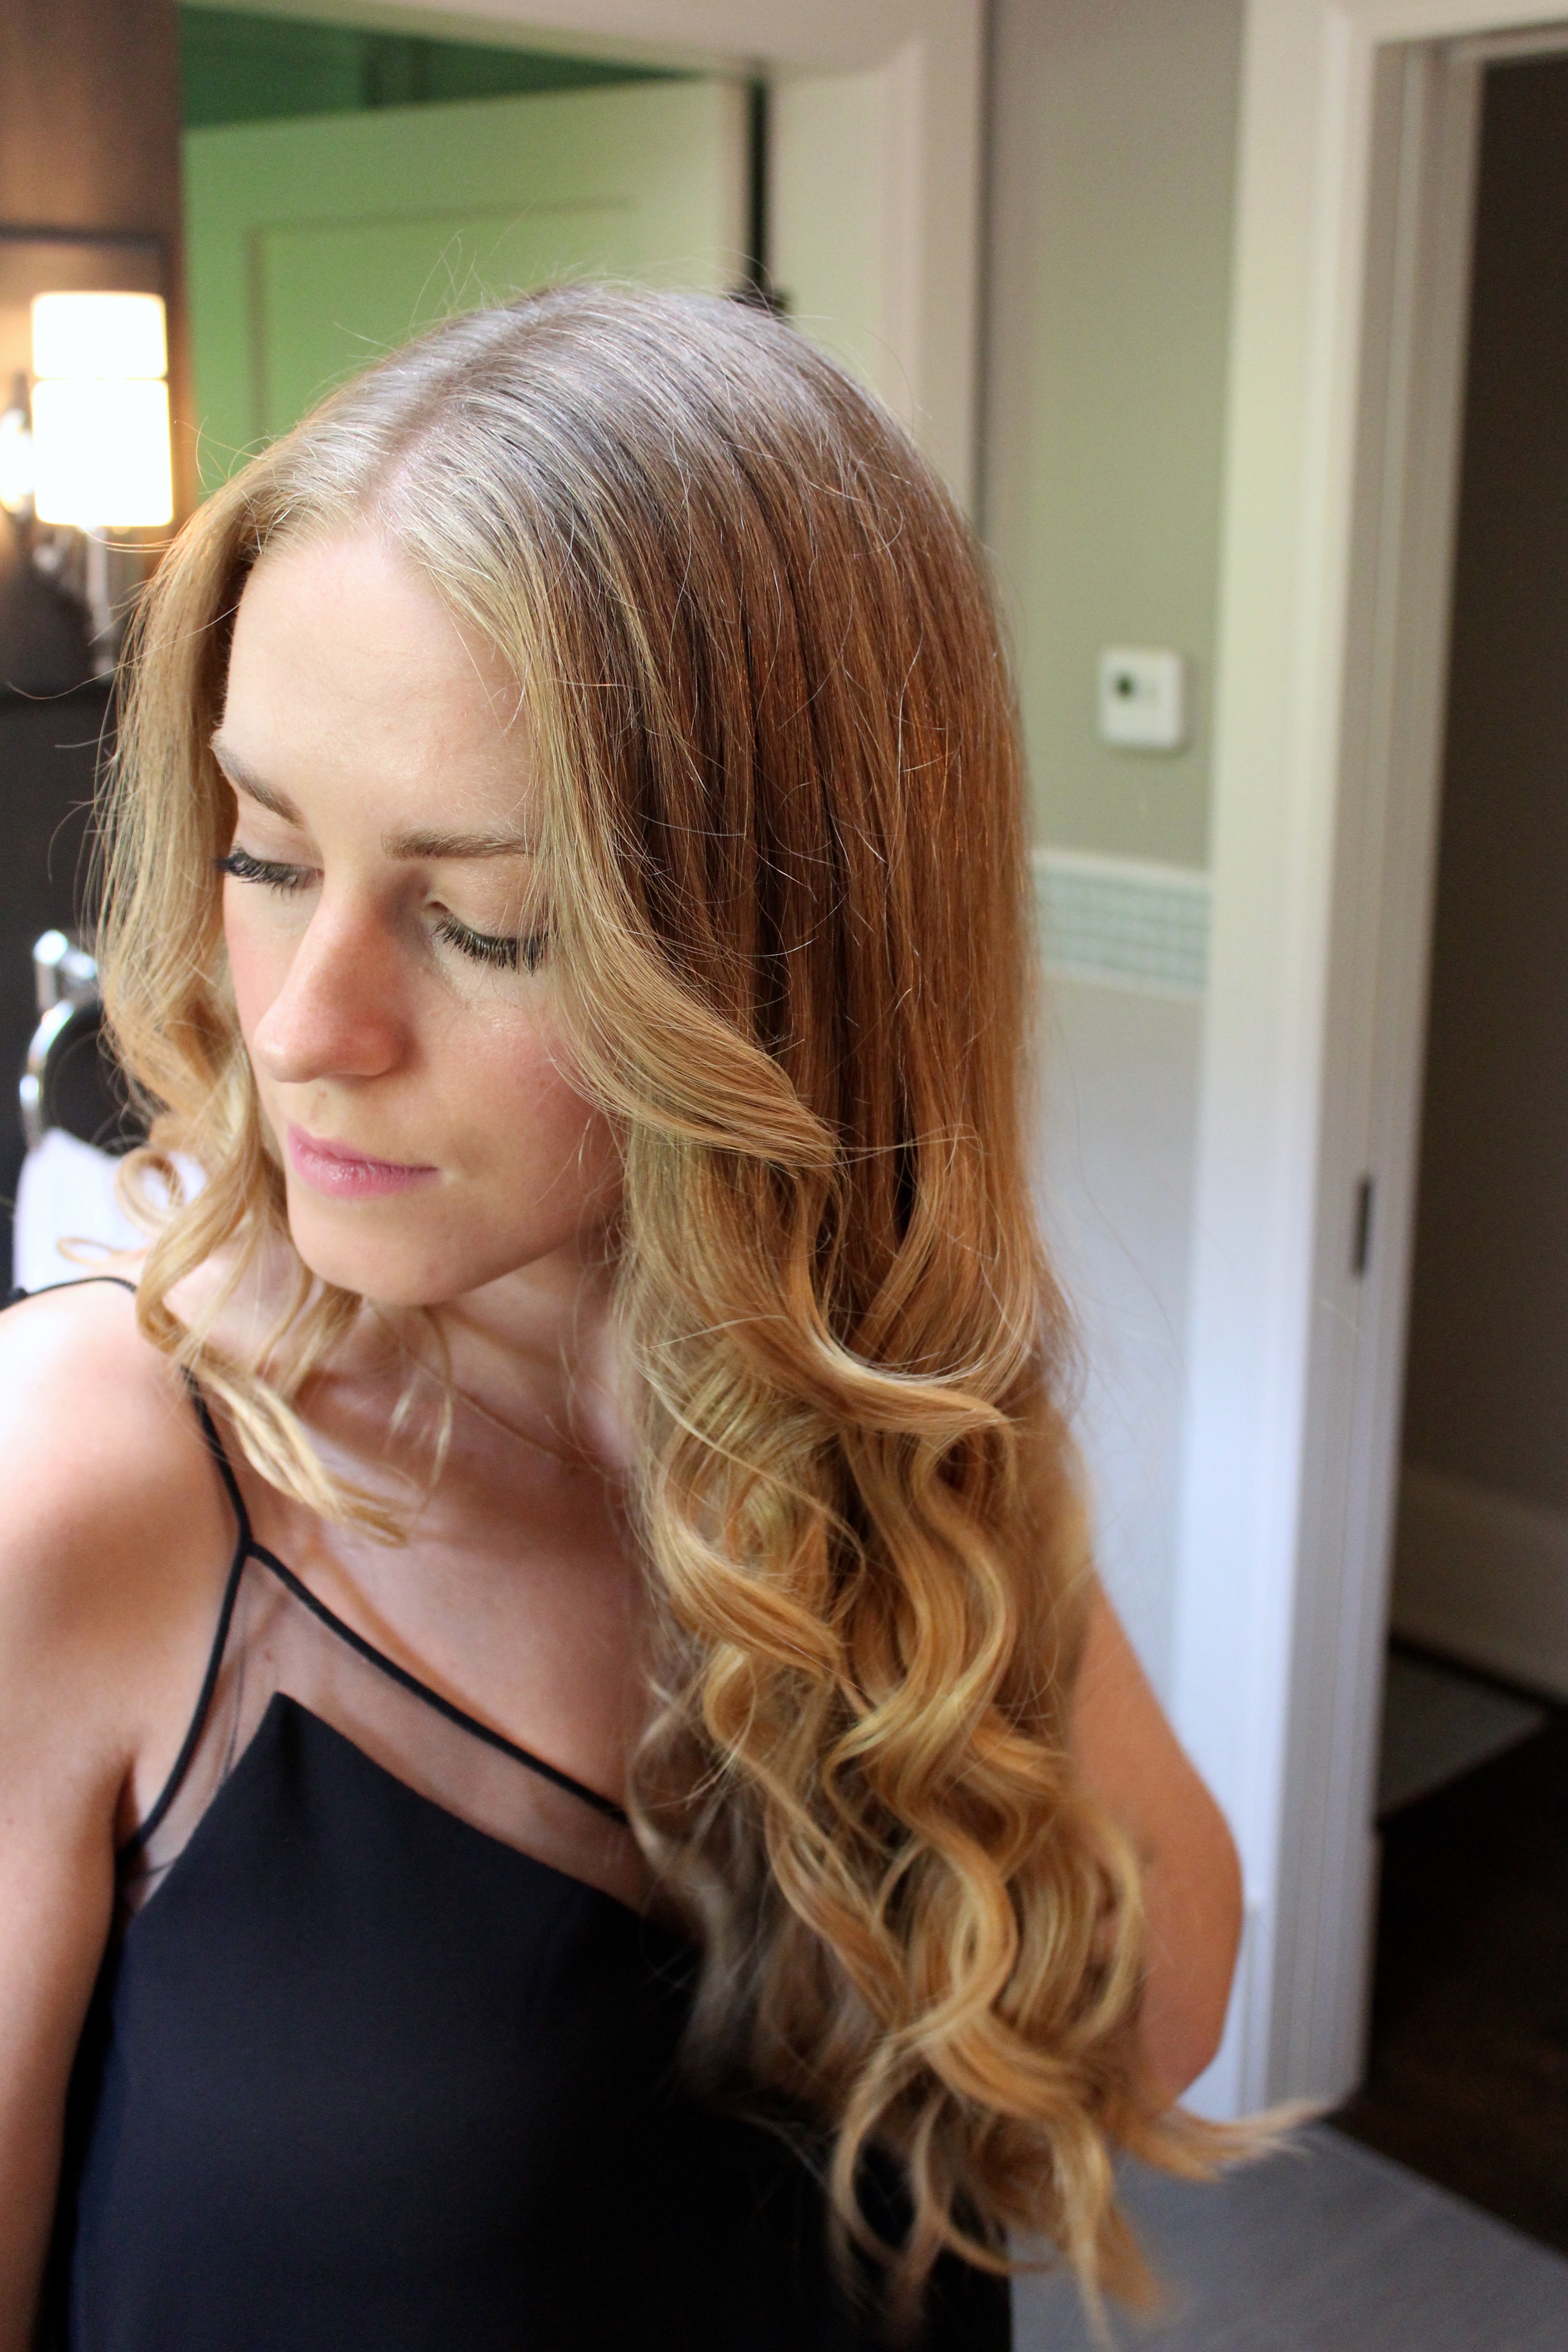 ^^ woo! Curling complete.
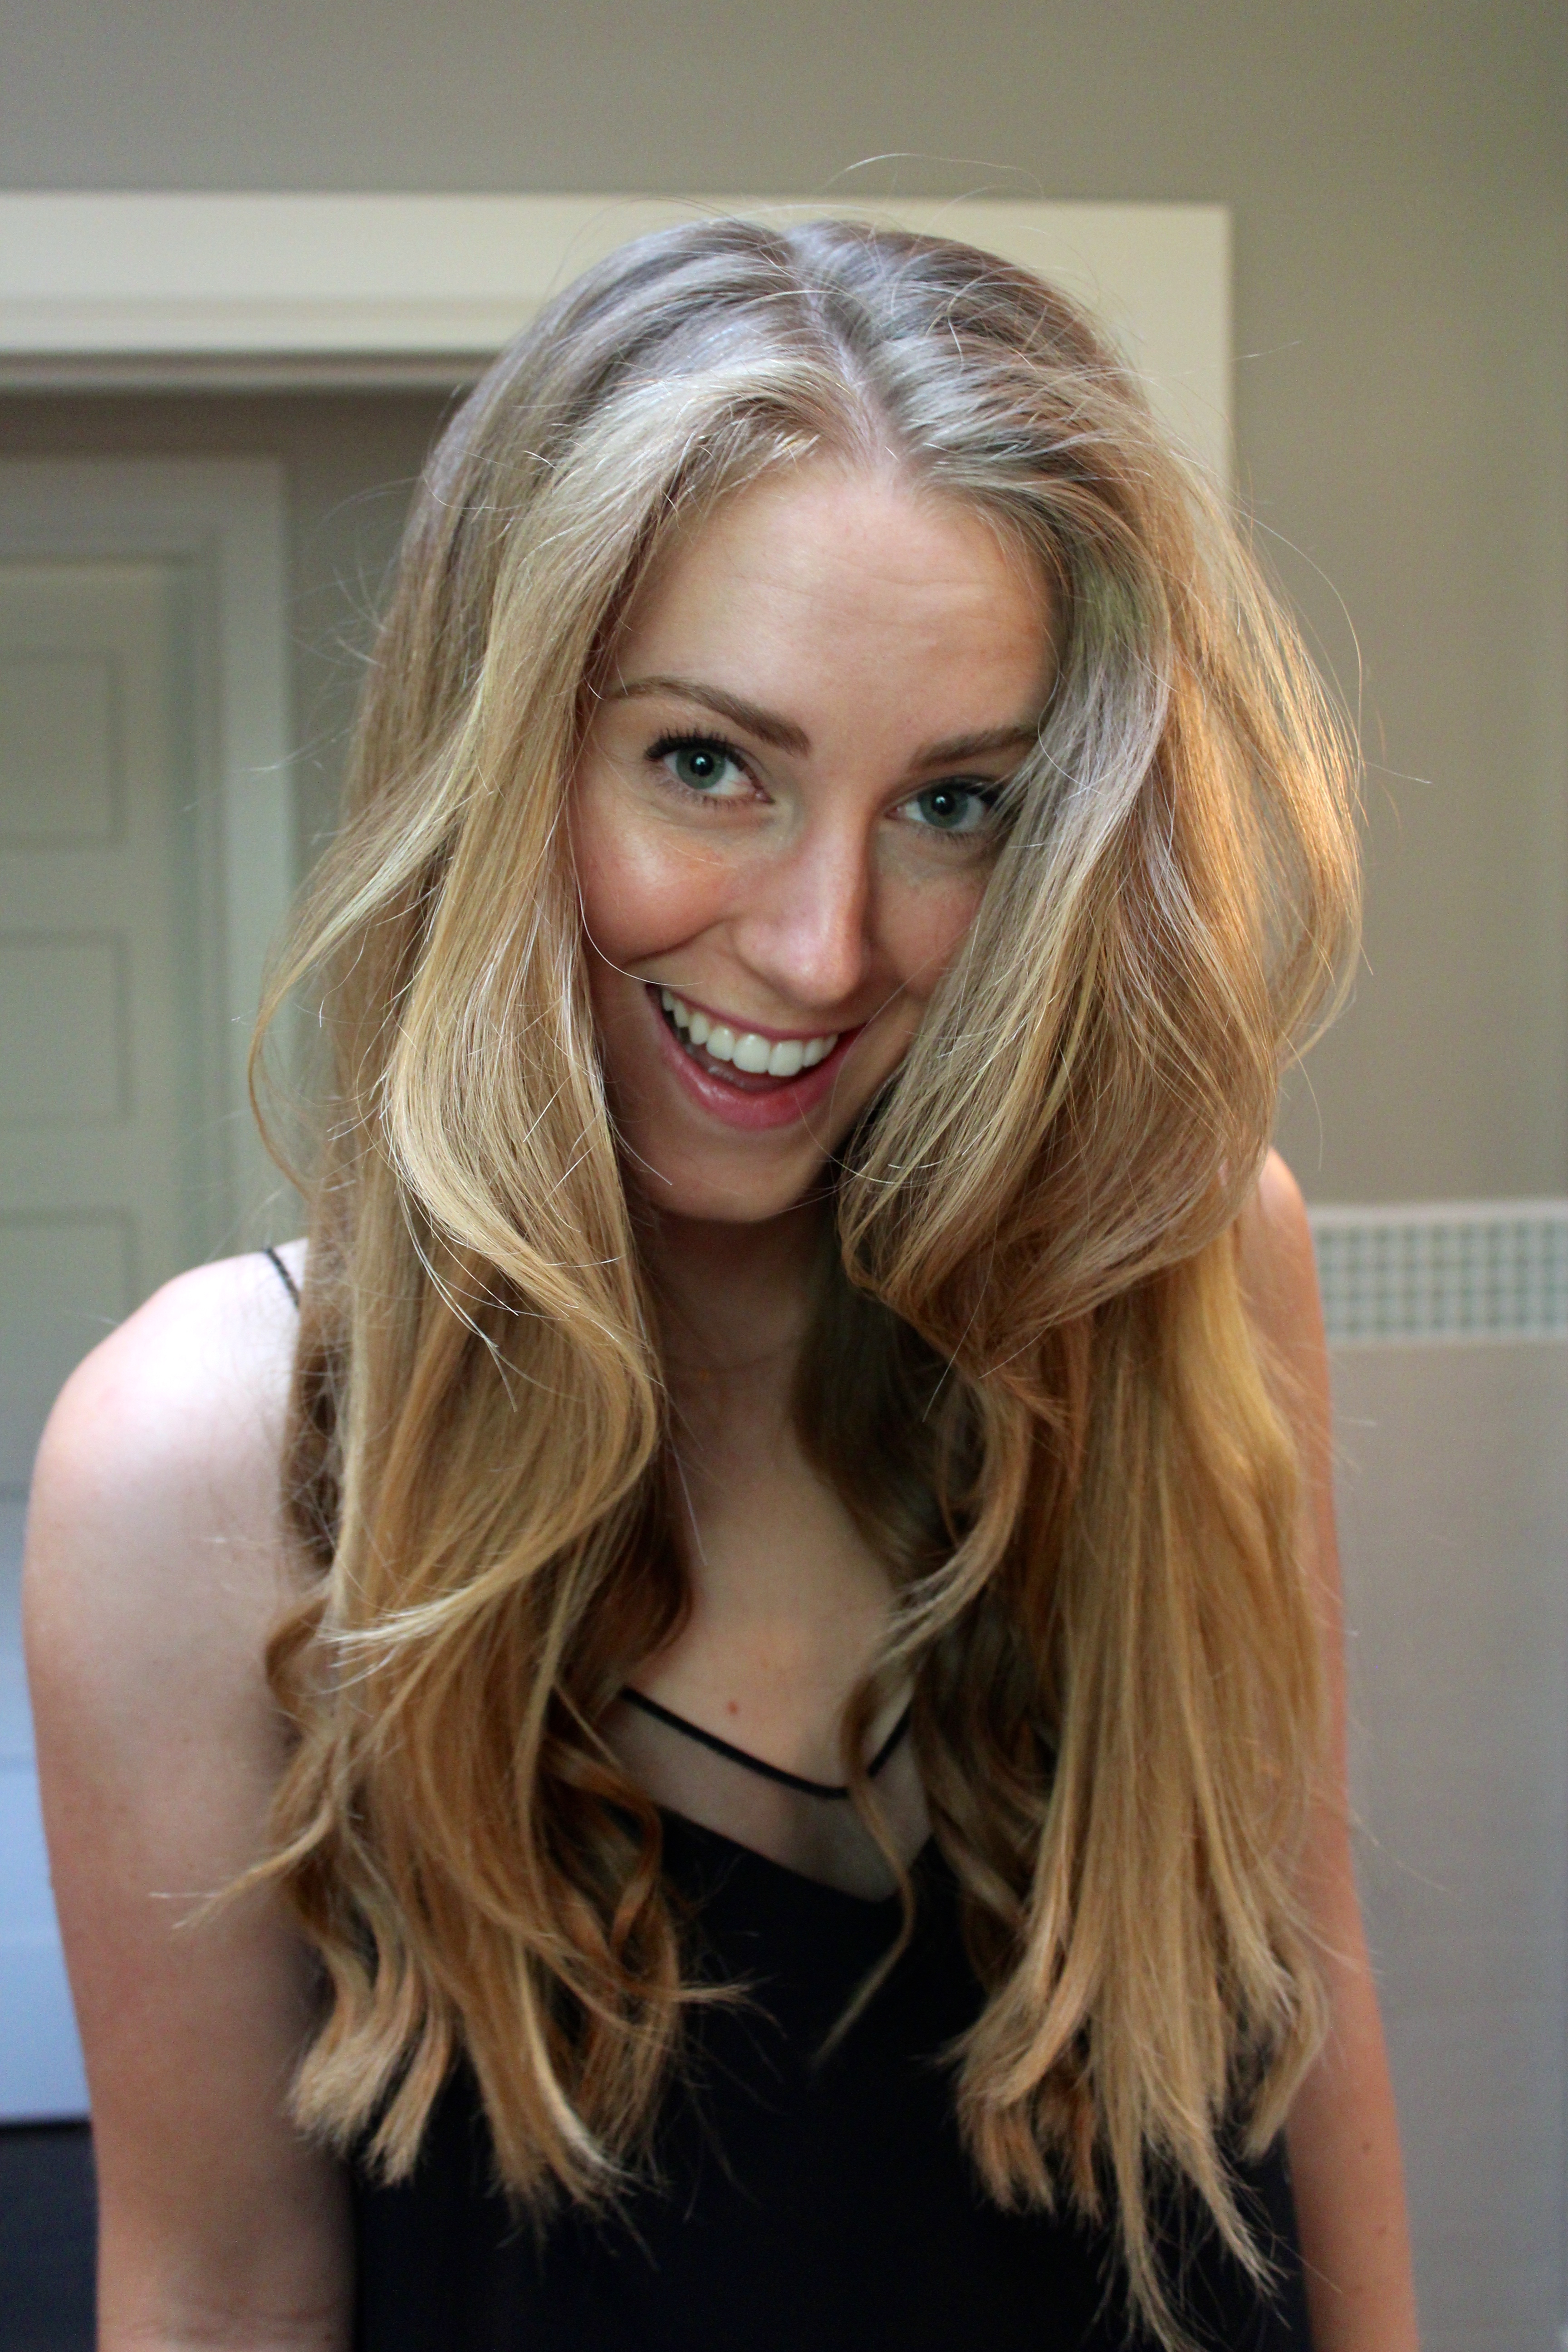
5. Let cool, then flip.
After letting your curls cool down, flip your head over & run your fingers through. This prevents any of the curls from getting stuck together & becoming one big mega curl at the back of your head (the worst). Throughout the day, I like to continue to gently mess my hair to make sure that it stays loose & natural.


5. Spray.
Once your curls are tosseled, spray your hair all over with the beach spray of your choice. I use Bumble & Bumble Surf Spray, but I think a lot of the hair products out there are similar. I find Bumble & Bumble to be a fairly heavy spray, but there are others that will give you a lighter mist.


 ^^ I tossel my hair with my fingers again to make sure the spray doesn’t build up in on section.


6. Make them last.
Curling your hair is no walk in the park, but with practice you will get better, faster & more consistent. However, no matter how quickly I can curl all that hair, I still want my hard work to last. This is where dry shampoo comes in. Before I go to bed that night, I give my hair a healthy dose of Living Proof dry shampoo at the root. I’ve tried my fair share of dry shampoos, but this is BY FAR the best…I always have two bottles on hand because I cannot function without it. By applying dry shampoo the night before, it gives it more time to work itself into your hair & start it’s oil absorbing magic. Sometimes I even like the way that my hair looks on the second day better than I did when it was freshly curled!

& that’s how I get these curls…

 Let me know in the comments below if you have any questions!
 ^^ special shout out to this photographer for his patience, even though he has the attention span of a puppy.

Hannah Jane
Just a girl sharing the baubles she loves & the bliss she experiences!
-
 Happy Birthday Sammy!
10 years ago
-
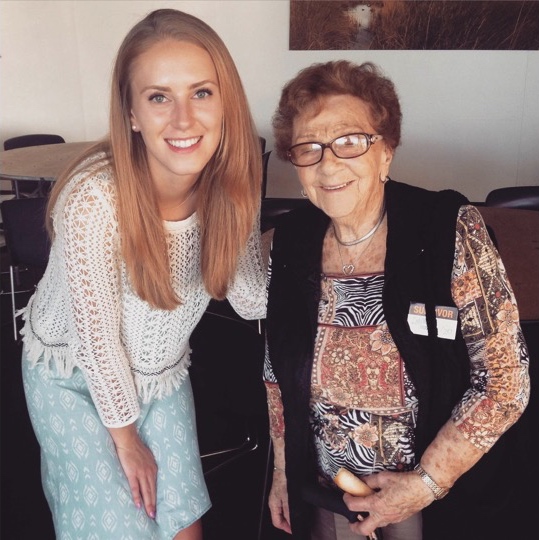 Challah Baking with Holocaust Survivors
10 years ago
-
 Last Minute Costume Ideas
8 years ago
Comment